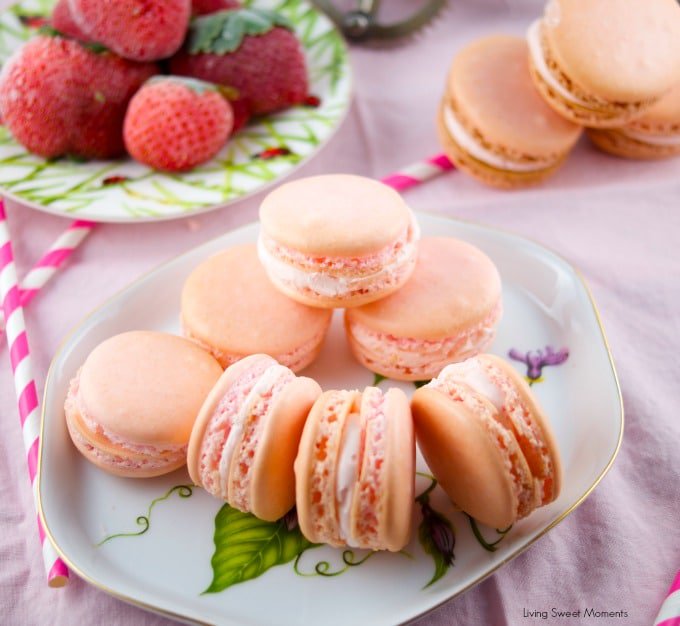
These delicious mini valentine’s cookies are made from scratch and topped with a sweet glaze. The perfect DIY valentine’s gift idea for kids and adults

Mini Valentine’s Cookies
As time passes, Valentine’s day keeps changing its meaning. When I was a teenager and young adult, I was so excited to see what gift I would get, who would give me flowers, etc. Now that I am a mom of 2 little girls, they celebrate it with all their friends at school.
I think Valentine’s has turned more into friendship day and every kid will get a special gift from their peers. This year, instead of buying the same old candy, I decided to make these yummy mini valentine’s cookies. They are perfect to make with kids and you can put them in little baggies to give away at school.

My girls love baking with me and they were super excited to add their personal touches on each cookie. One did sprinkles, the other wrote cute messages. It was a great experience to show their creativity. Now when they take them to school, it will be even more special because they made them themselves.

I went to Amazon and bought the smallest cookie cutter I could find. These cookies are about the same size as the sweetheart candy they sell at the grocery store. Last night we baked the cookies and then added a glaze that dried up beautifully overnight.
You can certainly make these Mini Valentine’s Cookies in any color you’d like. You can also add your own personal touches to decorate them. You can add sprinkles, candy, personal messages, etc.

For my hubby, I am thinking of putting them inside a jar so he can munch on during work. Since these are so tiny and cute, who can resist them?

I hope you can try this delicious Mini Valentine’s Cookies at home. If you do, please upload a pic on Instagram and tag me @Livingsweetmoments or use the hashtag #LivingSweet. I promise to repost it.

Mini Valentine's Cookies
Ingredients
For Cookies:
- 1/2 cup Unsalted butter 1 stick
- 3 Tablespoons Powdered sugar
- 1/2 teaspoon Pure Vanilla Extract
- 1 Cup + 2 Tablespoons of All Purpose Flour
For Glaze
- 1 cup + 2 tablespoons of Powdered Sugar
- 1 tablespoon of Light Corn Syrup
- 1 tablespoon + 1 teaspoon of Milk
- 1/2 teaspoon of Vanilla
- Food coloring optional
Extras
- Sprinkles
- Candies
- Edible pens
Instructions
For Cookies
- Preheat oven to 350 degrees Fahrenheit
- Line a cookie sheet with parchment paper
- Throw all the ingredients together in the bowl of a mixer and mix until combined
- Using a rolling pin, roll the cookie dough between 2 pieces of parchment paper. Make sure they are about 1/4" of an inch thick
- Cut out the hearts using the cookie cutter
- Any leftover dough, roll again and cut more hearts
- Place the hearts on the lined cookie sheet
- Bake for 6-8 minutes
- Remove from oven and let the cool completely before glazing.
For Glaze
- Place all ingredients minus the teaspoon of milk in a bowl. Mix until combined. If needed add the teaspoon of milk
- Add the food color of your choice (if desired)
- Glaze should be thick but still pourable
Assembly
- Dip each cookie into the glaze and shake off the excess glaze. Glaze should cover the surface of the cookie
- Add sprinkles or candy if desired
- Let the cookies dry out on a baking rack for a minimum of 6 hours
- After cookies have dried, you may use an edible pen to write out messages
- Store cookies in an airtight container
Nutrition
You may also like:


Your recipe has been featured here> https://sweetmeetsbakeshop.com/2016/04/14/mini-cookie-chip-cookies-nabisco-history/
Happy Thursday and keep on baking!
Thanks so much SweetJ