Bake this soft sourdough sandwich bread recipe at home! Fluffy, mild, & perfect for toast or sandwiches, with step-by-step guide & variations

🍞 Soft Sourdough Sandwich Bread (KitchenAid)
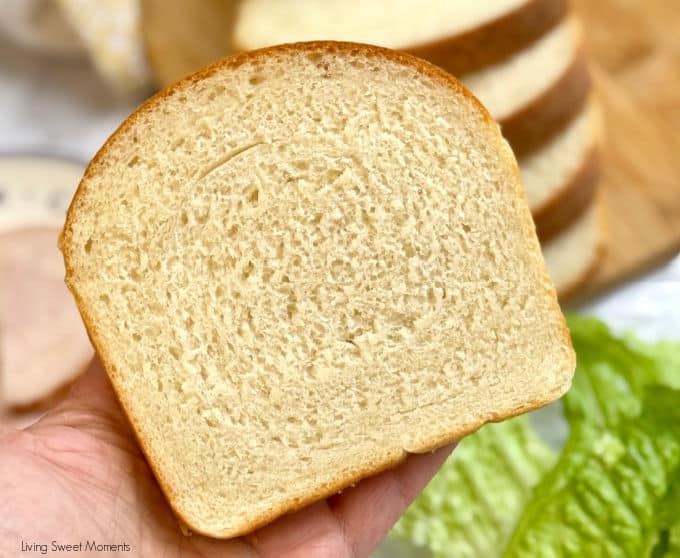
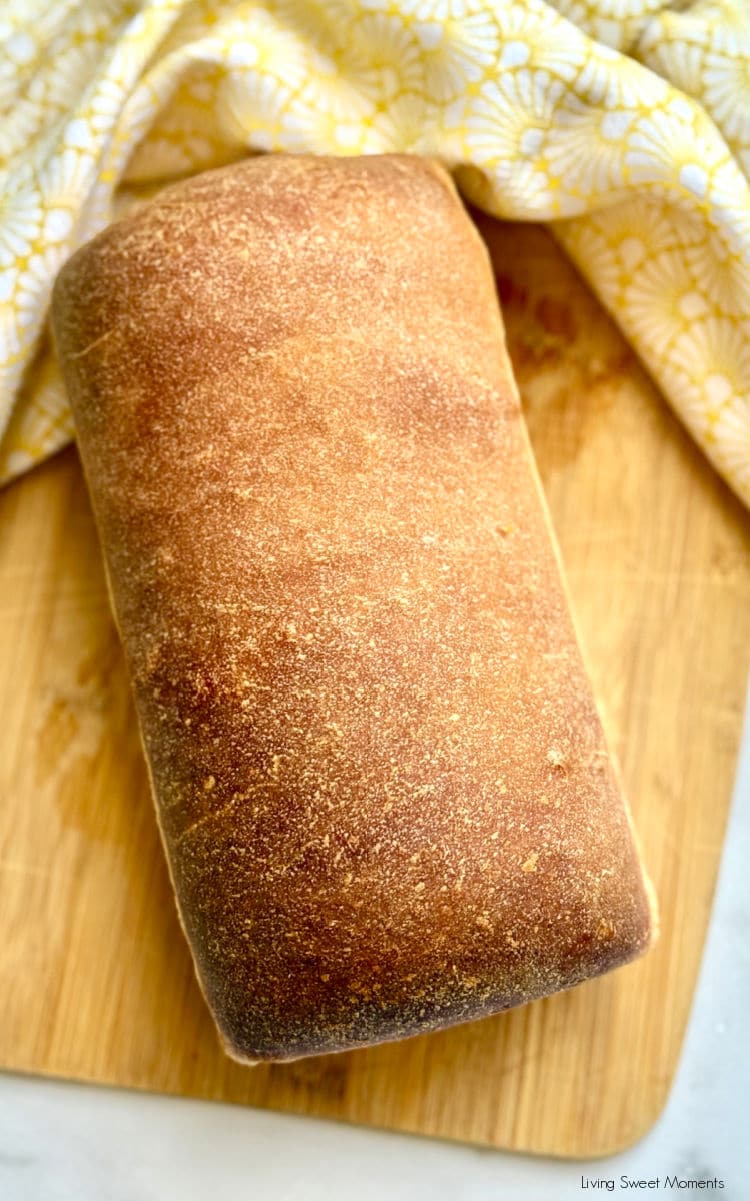
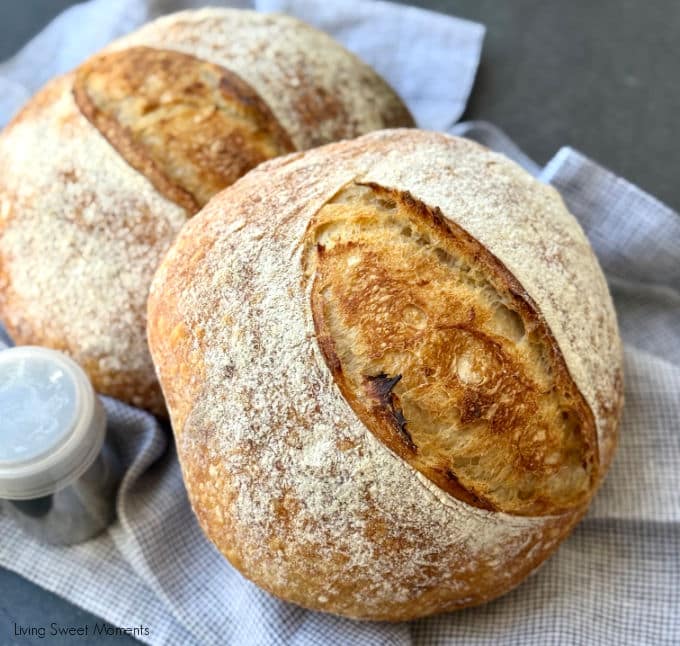
Meet your new everyday loaf: a sourdough sandwich bread recipe that bakes up plush, sliceable, and beautifully even, perfect for PB&J, BLTs, and legendary grilled cheese. Instead of a rustic crust, this loaf is enriched with milk, butter, and a touch of sugar for tenderness and keeping quality. It’s everything you love about sourdough, in a soft bakery-style package.
We streamline the process with your KitchenAid: a short autolyse, efficient kneading to a windowpane, a calm bulk rise, and an overnight chill for convenience and mellow flavor.
The next day, you’ll shape, proof until the crown peeks an inch above the pan, and bake to golden perfection. Brush with butter and you’ll have the kind of loaf that slices neatly, toasts like a dream, and stays soft for days. 💛
🛠 Equipment Needed
- Stand mixer with dough hook 🍴
- Mixing bowl
- 9×5″ loaf pan
- Digital scale ⚖️
- Plastic wrap, shower cap, or damp towel
⏱ Timetable Living Sweet Moments
👀 Mixer & Fermentation Cues
- Kneading: The dough should clean the bowl yet feel soft/tacky; it must stretch thin (like a windowpane) without tearing.
- Bulk rise: gentle double, domed surface, tiny bubbles along the bowl edges.
- Proofing cue: crown ~1″ above rim; fingertip poke springs back slowly with a small dent.
- Doneness: 195–200°F (90–93°C) internal; brush hot loaf with butter for a tender crust.
🛠 Troubleshooting
- Collapsed loaf? Over-proofed, next time bake as soon as it reaches the 1″ mark.
- Dense crumb? Under-kneaded, stay on the mixer until it passes the windowpane.
- Too sour? Shorten the cold retard to 8–10 hours or bake the same day.
🌟 Variations
- 🌾 Whole Wheat: Swap 20% of flour for whole wheat.
- 🍯 Honey Oat: Add 2 tbsp honey; sprinkle oats on top before baking.
- 🌿 Garlic Herb: Mix 1 tsp garlic powder + dried herbs into the dough.
💛 Make-Ahead, Slicing & Storage
- Make-ahead: Chill after bulk for easier shaping and a mild flavor the next day.
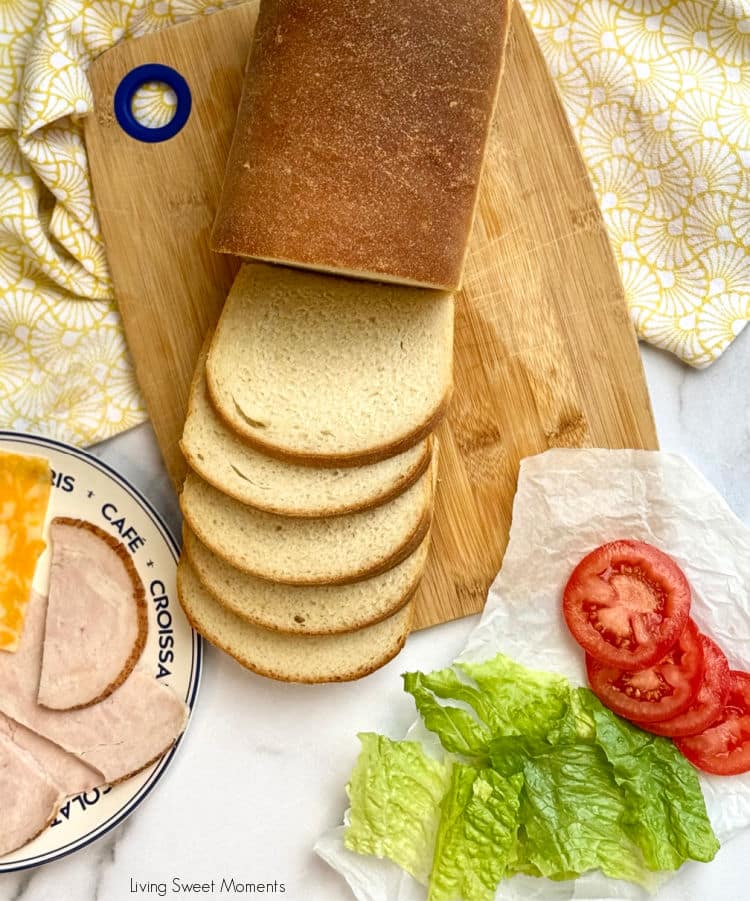
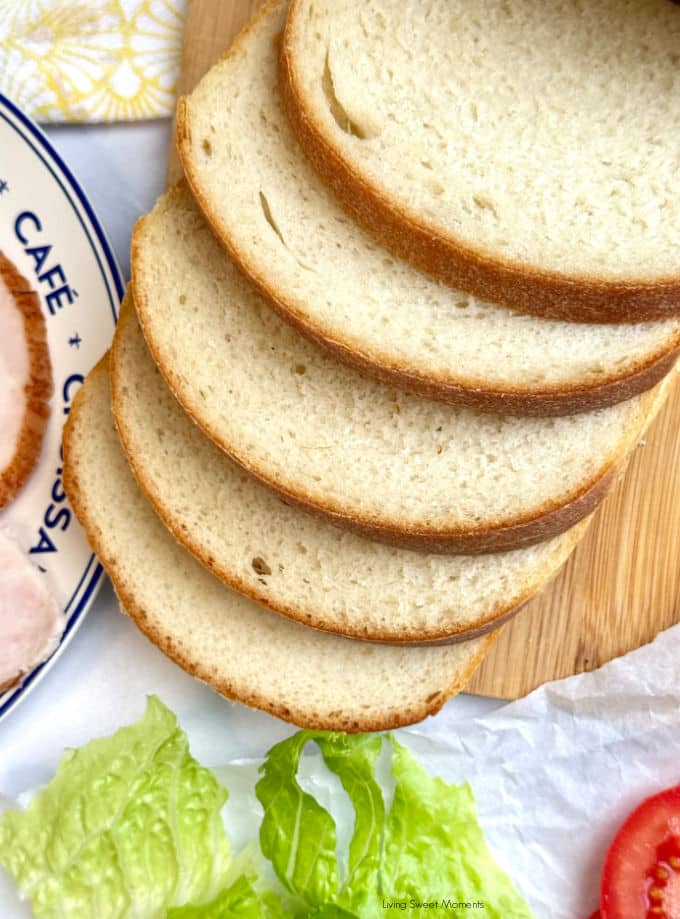
- Slicing: Cool at least 1 hour for neat, even slices.
- Storage: Wrap and keep 2–3 days at room temp; slice & freeze up to 3 months.
Why You’ll Love It
Bakery-soft slices with real sourdough character. It’s sturdy enough for sandwiches, tender enough for toast, and totally repeat-worthy.
💡 Tips & Terms Explained
- Autolyse: A rest period after mixing flour and liquid (before adding salt or starter). It helps gluten form naturally, making the dough smoother and easier to knead.
- Windowpane Test: Stretch a small piece of dough gently between your fingers. If it stretches thin enough to let light through without tearing, the gluten is fully developed and ready.
- Bulk Fermentation: The first long rise after mixing and kneading. The dough should increase in volume, gain strength, and develop flavor.
- Cold Retard: Resting the dough in the fridge to slow fermentation. It adds flexibility to your schedule and deepens flavor.
- Proofing: The final rise before baking. It determines how tall and airy your loaf will be.
- Let it cool in the pan for 10 minutes before unmolding on a cooling rack.
- If you want an extra soft crust, cover the loaf with a clean kitchen towel while the bread cools.

Sourdough Sandwich Bread Recipe
Ingredients
- 500 grams bread flour
- 280 grams whole milk room temperature
- 100 grams active sourdough starter
- 40 grams unsalted butter softened
- 25 grams sugar
- 10 grams salt
- butter for brushing after baking (optional)
Instructions
- Feed starter (night before): Have it bubbly and ready by morning.
- Autolyse: In the mixer bowl, combine flour, starter, and milk just until no dry bits remain. Rest 30 minutes covered
- Mix: Add sugar, and salt. Mix on low (speed 2) until combined
- Knead: Add softened butter a little at a time. Increase to speed 3–4 and knead 8–10 minutes until smooth, elastic, and windowpane thin. Dough should pull from the bowl but feel soft/tacky
- Bulk ferment: Transfer to a greased bowl and cover. Ferment 4–6 hours at ~75°F until roughly doubled and airy
- Cold retard: Cover tightly and refrigerate 8–16 hours for easier shaping and mellow flavor
- Shape: Let the dough warm 30–45 minutes if stiff. Gently press into a rectangle, roll into a tight log, and place seam-side down in a greased 9×5 pan
- Proof: 2–3 hours at room temp until the crown is about 1 inch above the rim and a fingertip poke springs back slowly
- Bake: 375°F (190°C) for 35–40 minutes until golden and 195–200°F (90–93°C) internal. Brush hot loaf with butter. Cool at least 1 hour before slicing
- Enjoy!
Notes
- Collapsed top? Over-proofed, next time bake as soon as it reaches 1″ above the rim.
- Dense/chewy? Under-kneaded, stay on the mixer until it passes the windowpane.
- Too sour? Shorten the fridge rest to 8–10 hours or bake the same day.
- Rubbery crust? Let it cool fully before bagging; brush butter while hot for a softer crust.
- 20% Whole Wheat: Replace 100 g flour with whole wheat; add 10–15 g extra milk if the dough feels stiff.
- Honey-Oat: Replace sugar with 2 tbsp honey; press oats onto the top after egg wash or before baking.
- Garlic-Herb: Add 1 tsp garlic powder + 1–2 tsp dried Italian herbs during mixing.
Nutrition
💛 Other sourdough recipes you will 100% love:
Starter Sourdough Recipe for Beginners
Sourdough Focaccia

Same Day Sourdough Challah


I loved this recipe! Good balance between the sweet and salty.
Thank you Tiffany. I will bake these every week
Glad you enjoyed it Wanda 🙂