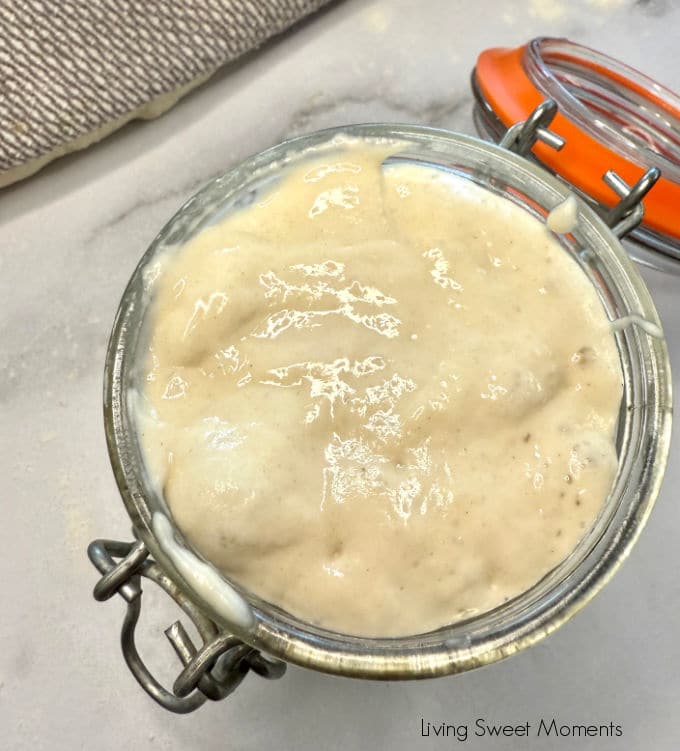
Learn how to make a sourdough starter from scratch in just 7 days—bubbly and ready to bake. Step-by-step photos and tips included.

How to Make and Maintain a Sourdough Starter (Beginner’s Day-by-Day Guide)
Sourdough isn’t just bread—it’s a living, breathing kitchen companion. In just one week, you can create your starter from scratch using nothing more than flour, water, and a little patience.
I’ll guide you step-by-step, from that first mix to a bubbly, happy starter ready to bake the bread of your dreams. Along the way, you’ll learn how to keep it thriving for years, troubleshoot the tricky days, and even make delicious recipes from your starter’s discard. By the end, you won’t just have a jar of fermenting magic… you’ll have a new member of your kitchen family.
If you have kids or grandkids, starters make the perfect science experiment! They will see the effects of mixing flour and water and all the stages it goes through in order to create yeast. They can see it and smell it right as it is happening.
I started this journey in the summer of 2018. We visited San Francisco and fell in love with their sourdough bread and the local bakeries. My husband and I bought a few books and learned the process.
Our starter is now 7 years old, gets fed regularly, and makes the most delicious breads. Her name is Betty.
I recommend you find a name for yours—here are some vintage ideas: Rita, Doris, Audrey, Irene, Ruth, Ethel. To create this post, I started a new one, as you will see below. Her name is Mildred. Now I have a Betty and a Mildred.
What is a Sourdough Starter?
A sourdough starter is a natural leavening made by fermenting flour and water. Wild yeast and lactic acid bacteria develop in the mixture, creating the lift and tangy flavor that make sourdough special—no commercial yeast needed.
Benefits of Sourdough Bread
- Easier to digest: Long fermentation partially breaks down gluten and starches (not gluten-free).
- Lower glycemic impact: Organic acids can slow carbohydrate absorption.
- Better mineral absorption: Fermentation reduces phytic acid, improving availability of iron, magnesium, and zinc.
- Beneficial compounds: Fermentation produces bioactive peptides and antioxidants.
- Naturally longer shelf life: Organic acids help inhibit mold.
- Great flavor & texture: Tangy, complex taste with a chewy, moist crumb.
- May be more tolerable for some: Long-fermented sourdough can be easier for some with mild sensitivities (not suitable for celiac). My mom, for example, can’t usually tolerate regular bread—only homemade sourdough.
Ingredients
- Unbleached all-purpose or bread flour (whole wheat or rye can boost early activity)
- Room-temperature water (filtered/dechlorinated if possible)
Equipment
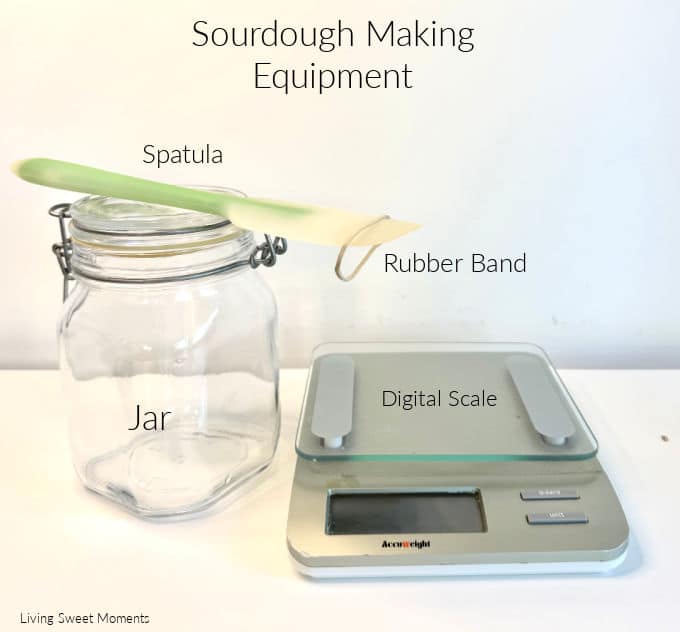
- Glass mason jar (start with 16 oz; move to 32 oz as activity grows)
- Kitchen scale (best accuracy)
- Spoon or spatula
- Rubber band or tape to mark the rise level
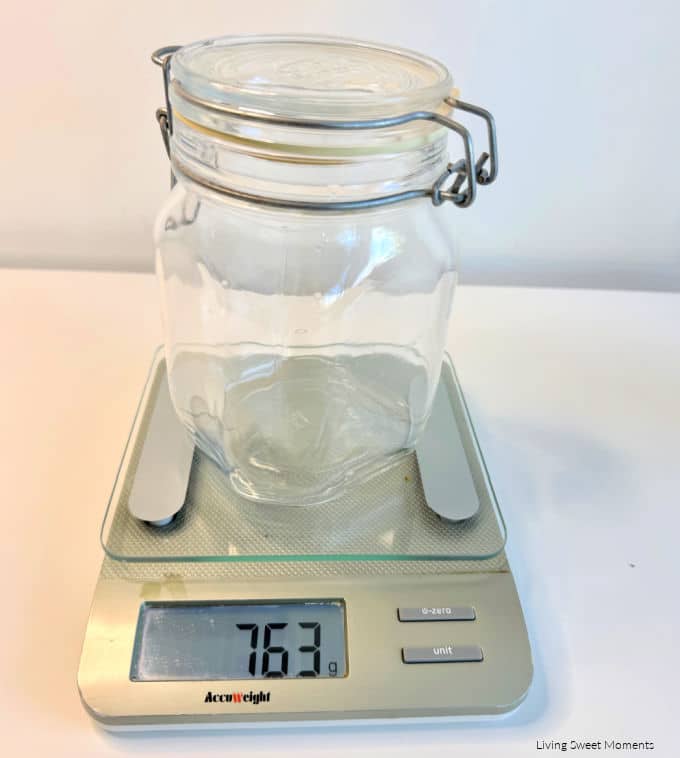
Pro tip: Weigh your empty jar and write that number down. When it’s time to discard half, subtract the jar’s weight from the total to know exactly how much starter to remove—no guesswork. Mine is 763 grams.
Can I use a mason jar? Yes! Wide-mouth mason jars are ideal: clear, sturdy, and easy to clean. Just don’t seal it airtight. You can also use these plastic containers from Amazon.
Day-by-Day Sourdough Starter Instructions
Use equal weights of flour and water for feedings (a 1:1:1 ratio of starter:water:flour by weight during the build). Keep the jar at 70–75°F (21–24°C). Mark the level with a rubber band after each feeding.
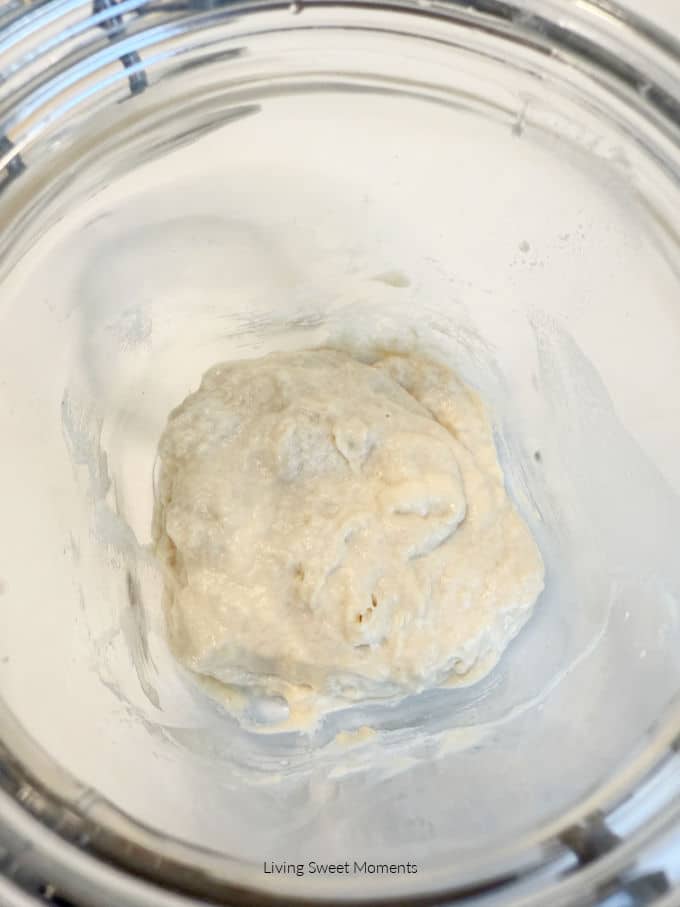
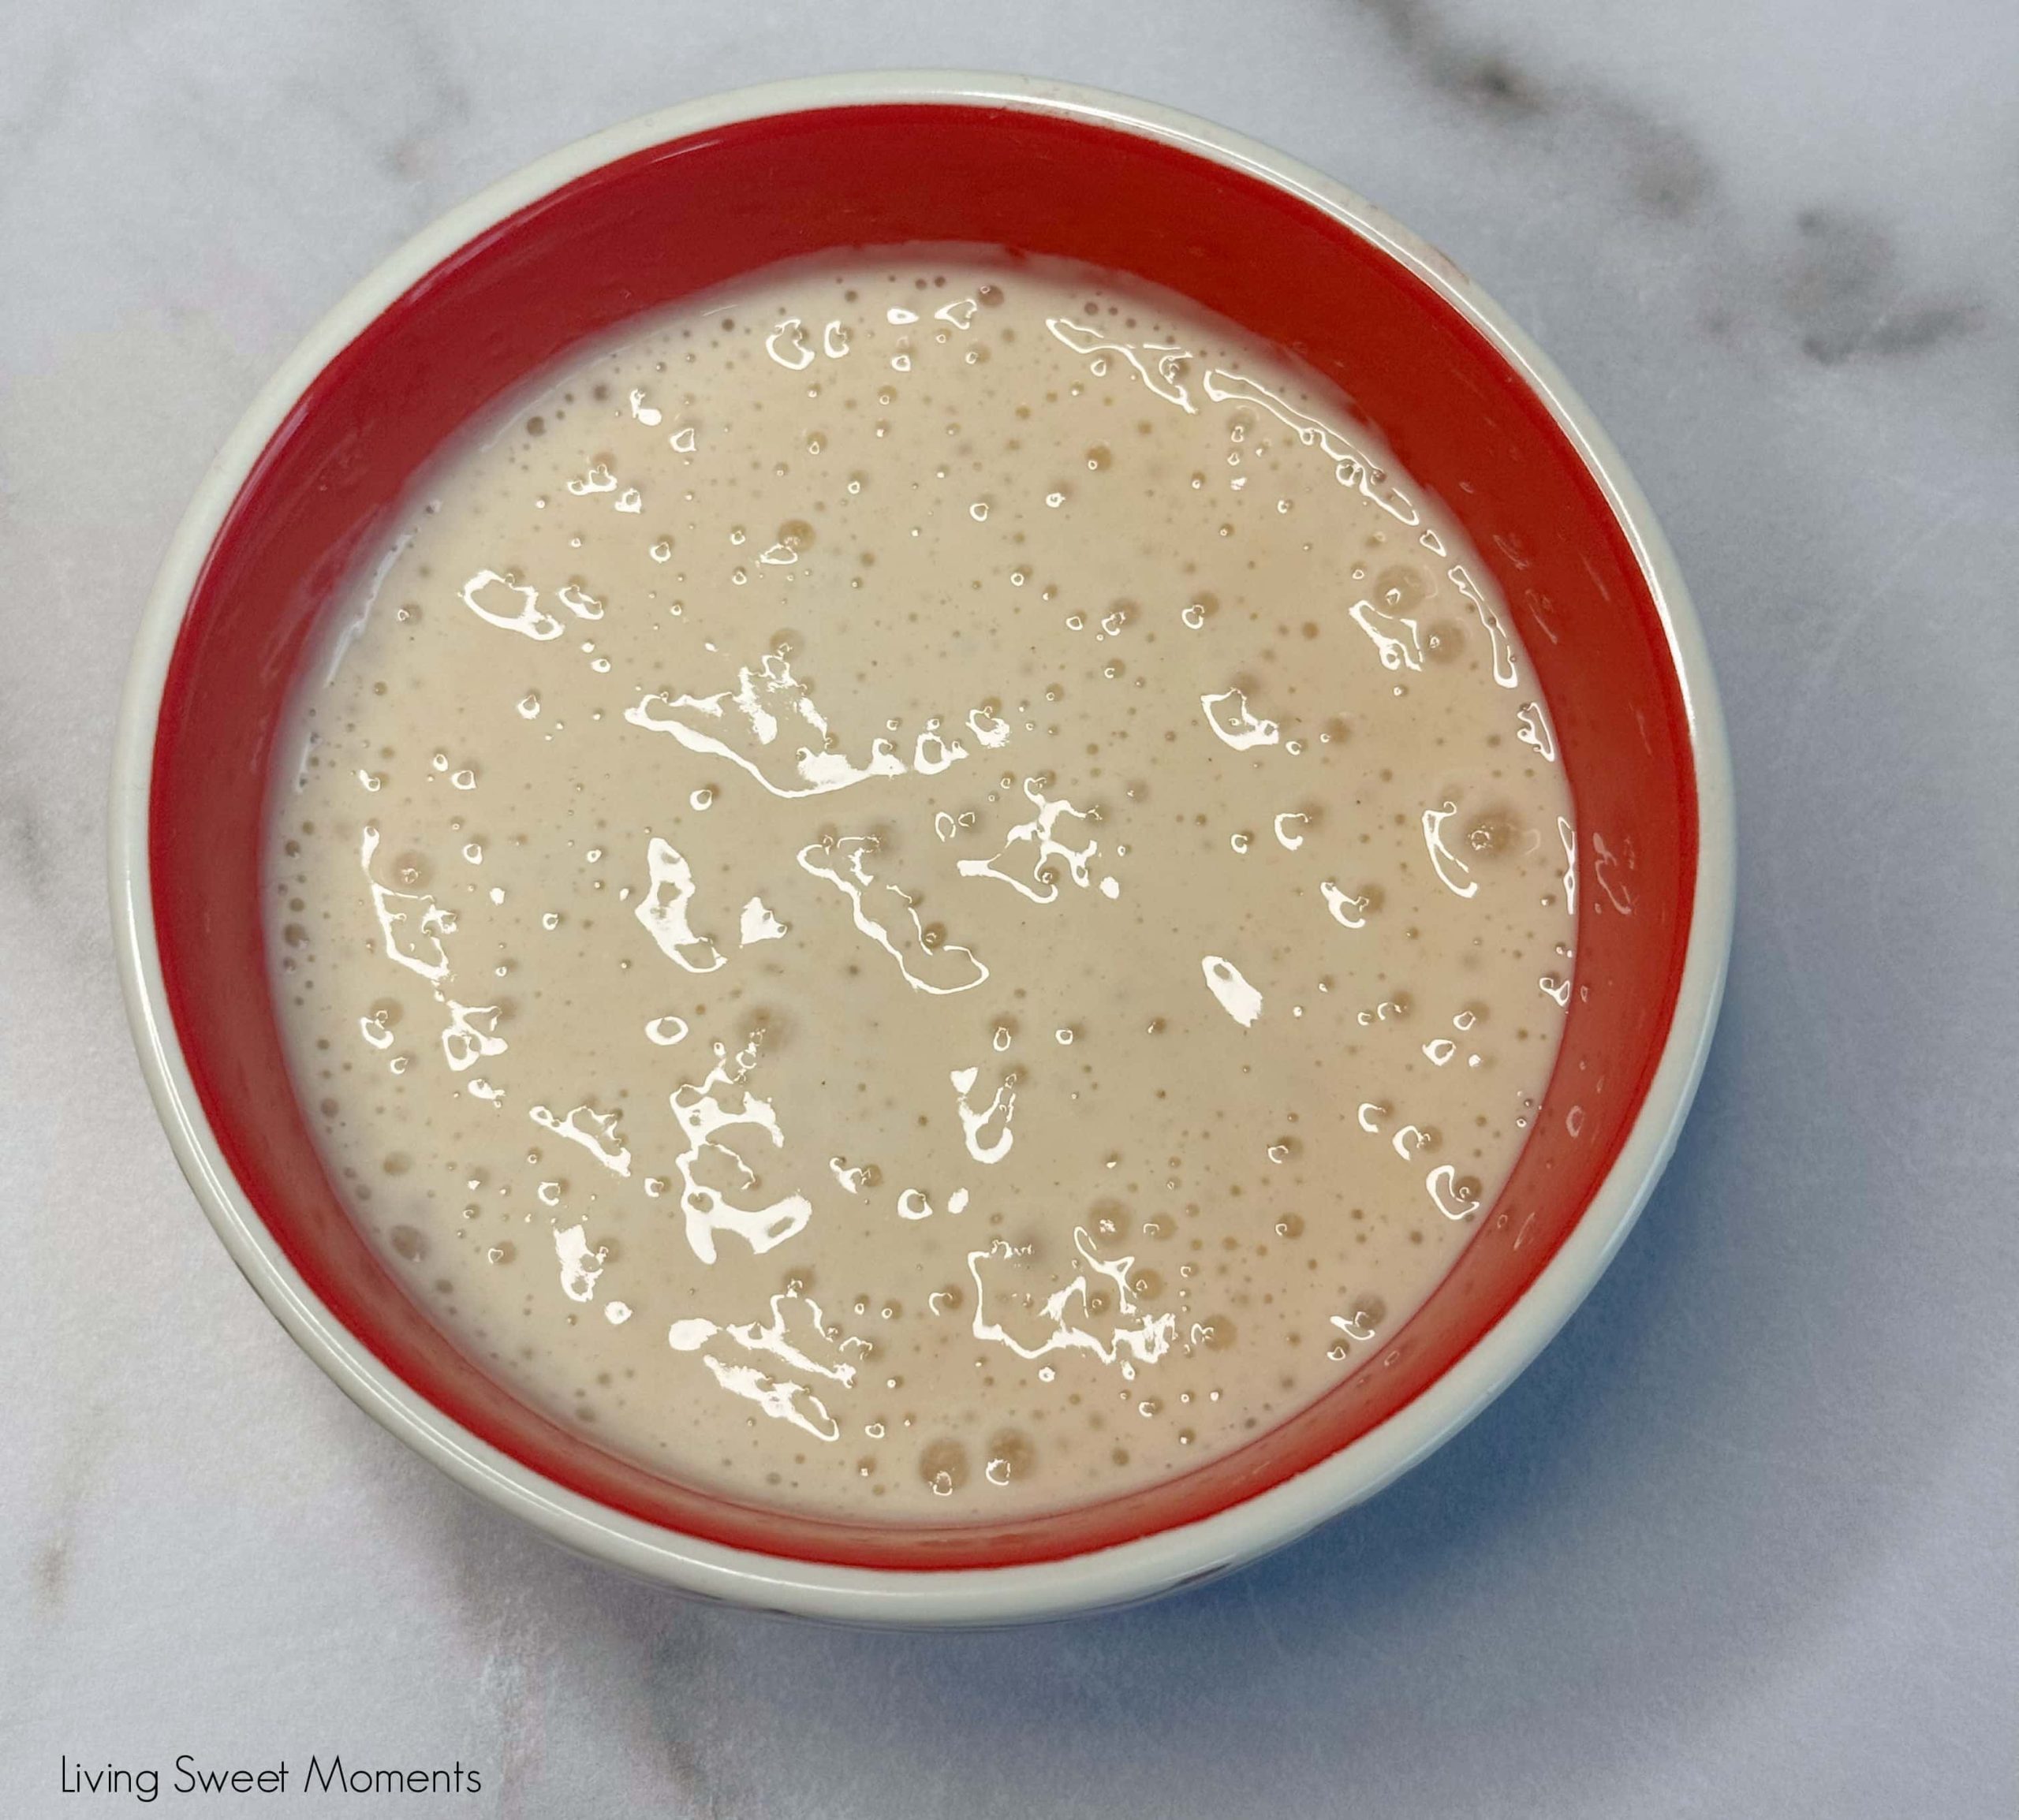
Day 1 — Mix & Rest
- In the jar, mix 60 g flour + 60 g water until no dry bits remain.
- Scrape sides clean, cover loosely, and rest 24 hours at room temperature.
Day 2 — First Feeding
- Discard half of the mixture (save for discard recipes if you like). This is where weighing your empty jar helps: mine weighed 763 g. After Day 1, total was 883 g. Since I need to discard 60 g, my new weight (before feeding) should be 823 g (883–60).
- Add 60 g flour and 60 g water. Stir well, cover, and rest 24 hours.
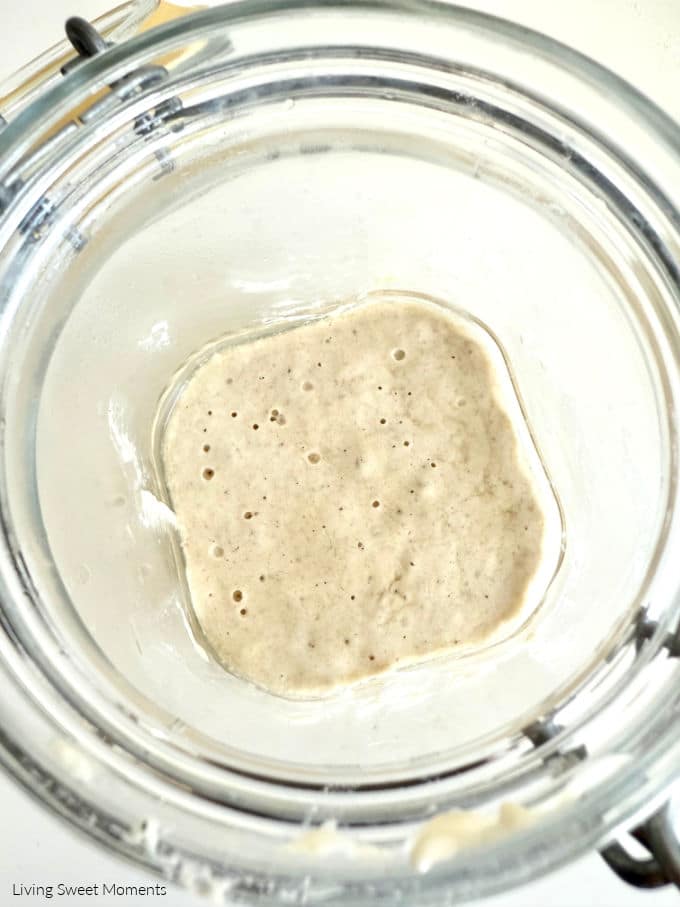
Day 3 — First Big Rise
- Many starters show a big rise today; it’s okay if yours takes longer.
- Repeat: discard half, then feed 60 g flour + 60 g water.
- If it rises and falls before 24 hours, switch to feedings every 12 hours.
Day 4 — The Quiet Phase (Don’t Panic!)
Today your starter might look less active fewer bubbles, little or no rise, and sometimes a thin layer of liquid (hooch) on top. This is normal. The first wave of microbes is giving way to wild yeast and lactic acid bacteria, building strength.
- Pour off hooch for a milder flavor, or
- Stir it in for a tangier taste.
Feed immediately and keep it warm. In the next few days, you’ll see it bounce back and rise more consistently.
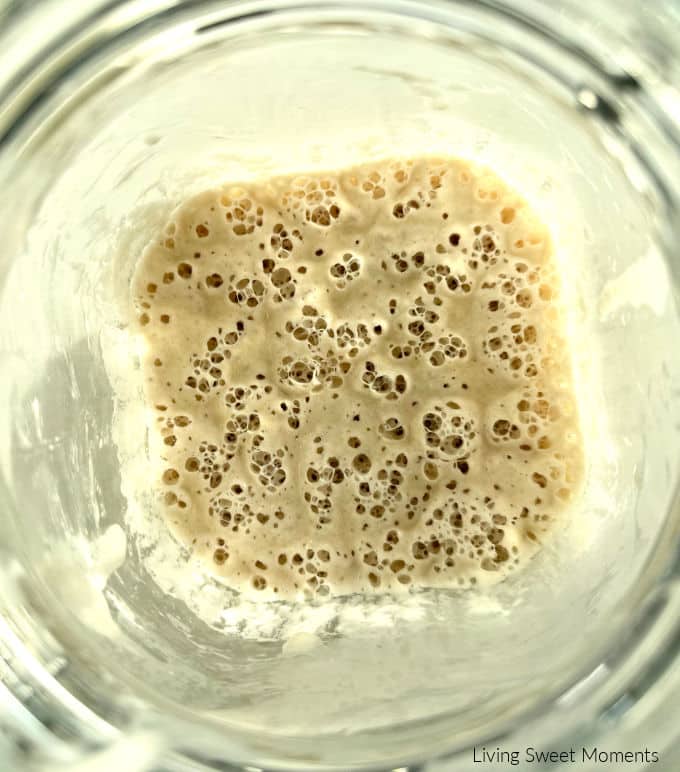
Day 5 “Active & Hungry” A thick web of bubbles, a pleasant sour smell, and a noticeable rise after each feeding. The starter is getting stronger and hungrier; keep feeding regularly.
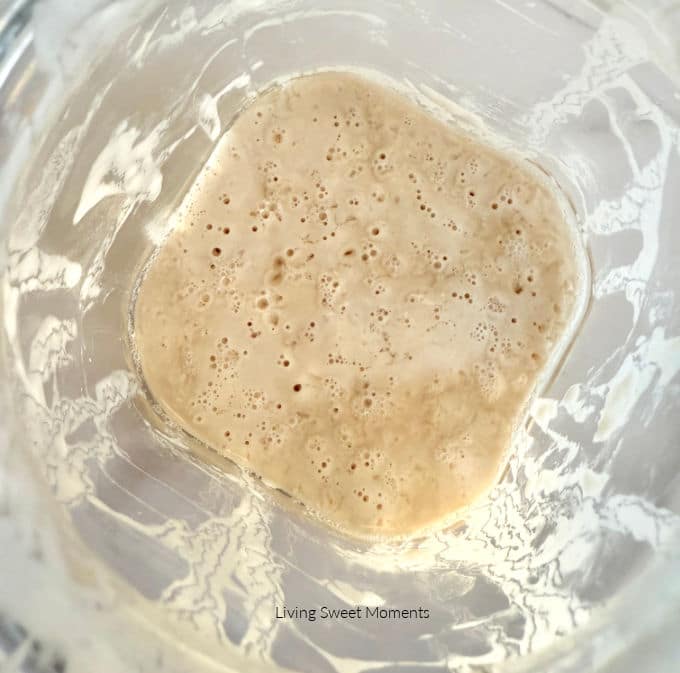
Day 5–6 — Activity Returns
- Bubbles become more evenly distributed.
- Continue discarding and feeding once or twice daily as needed.
- The starter should rise reliably after feeding.
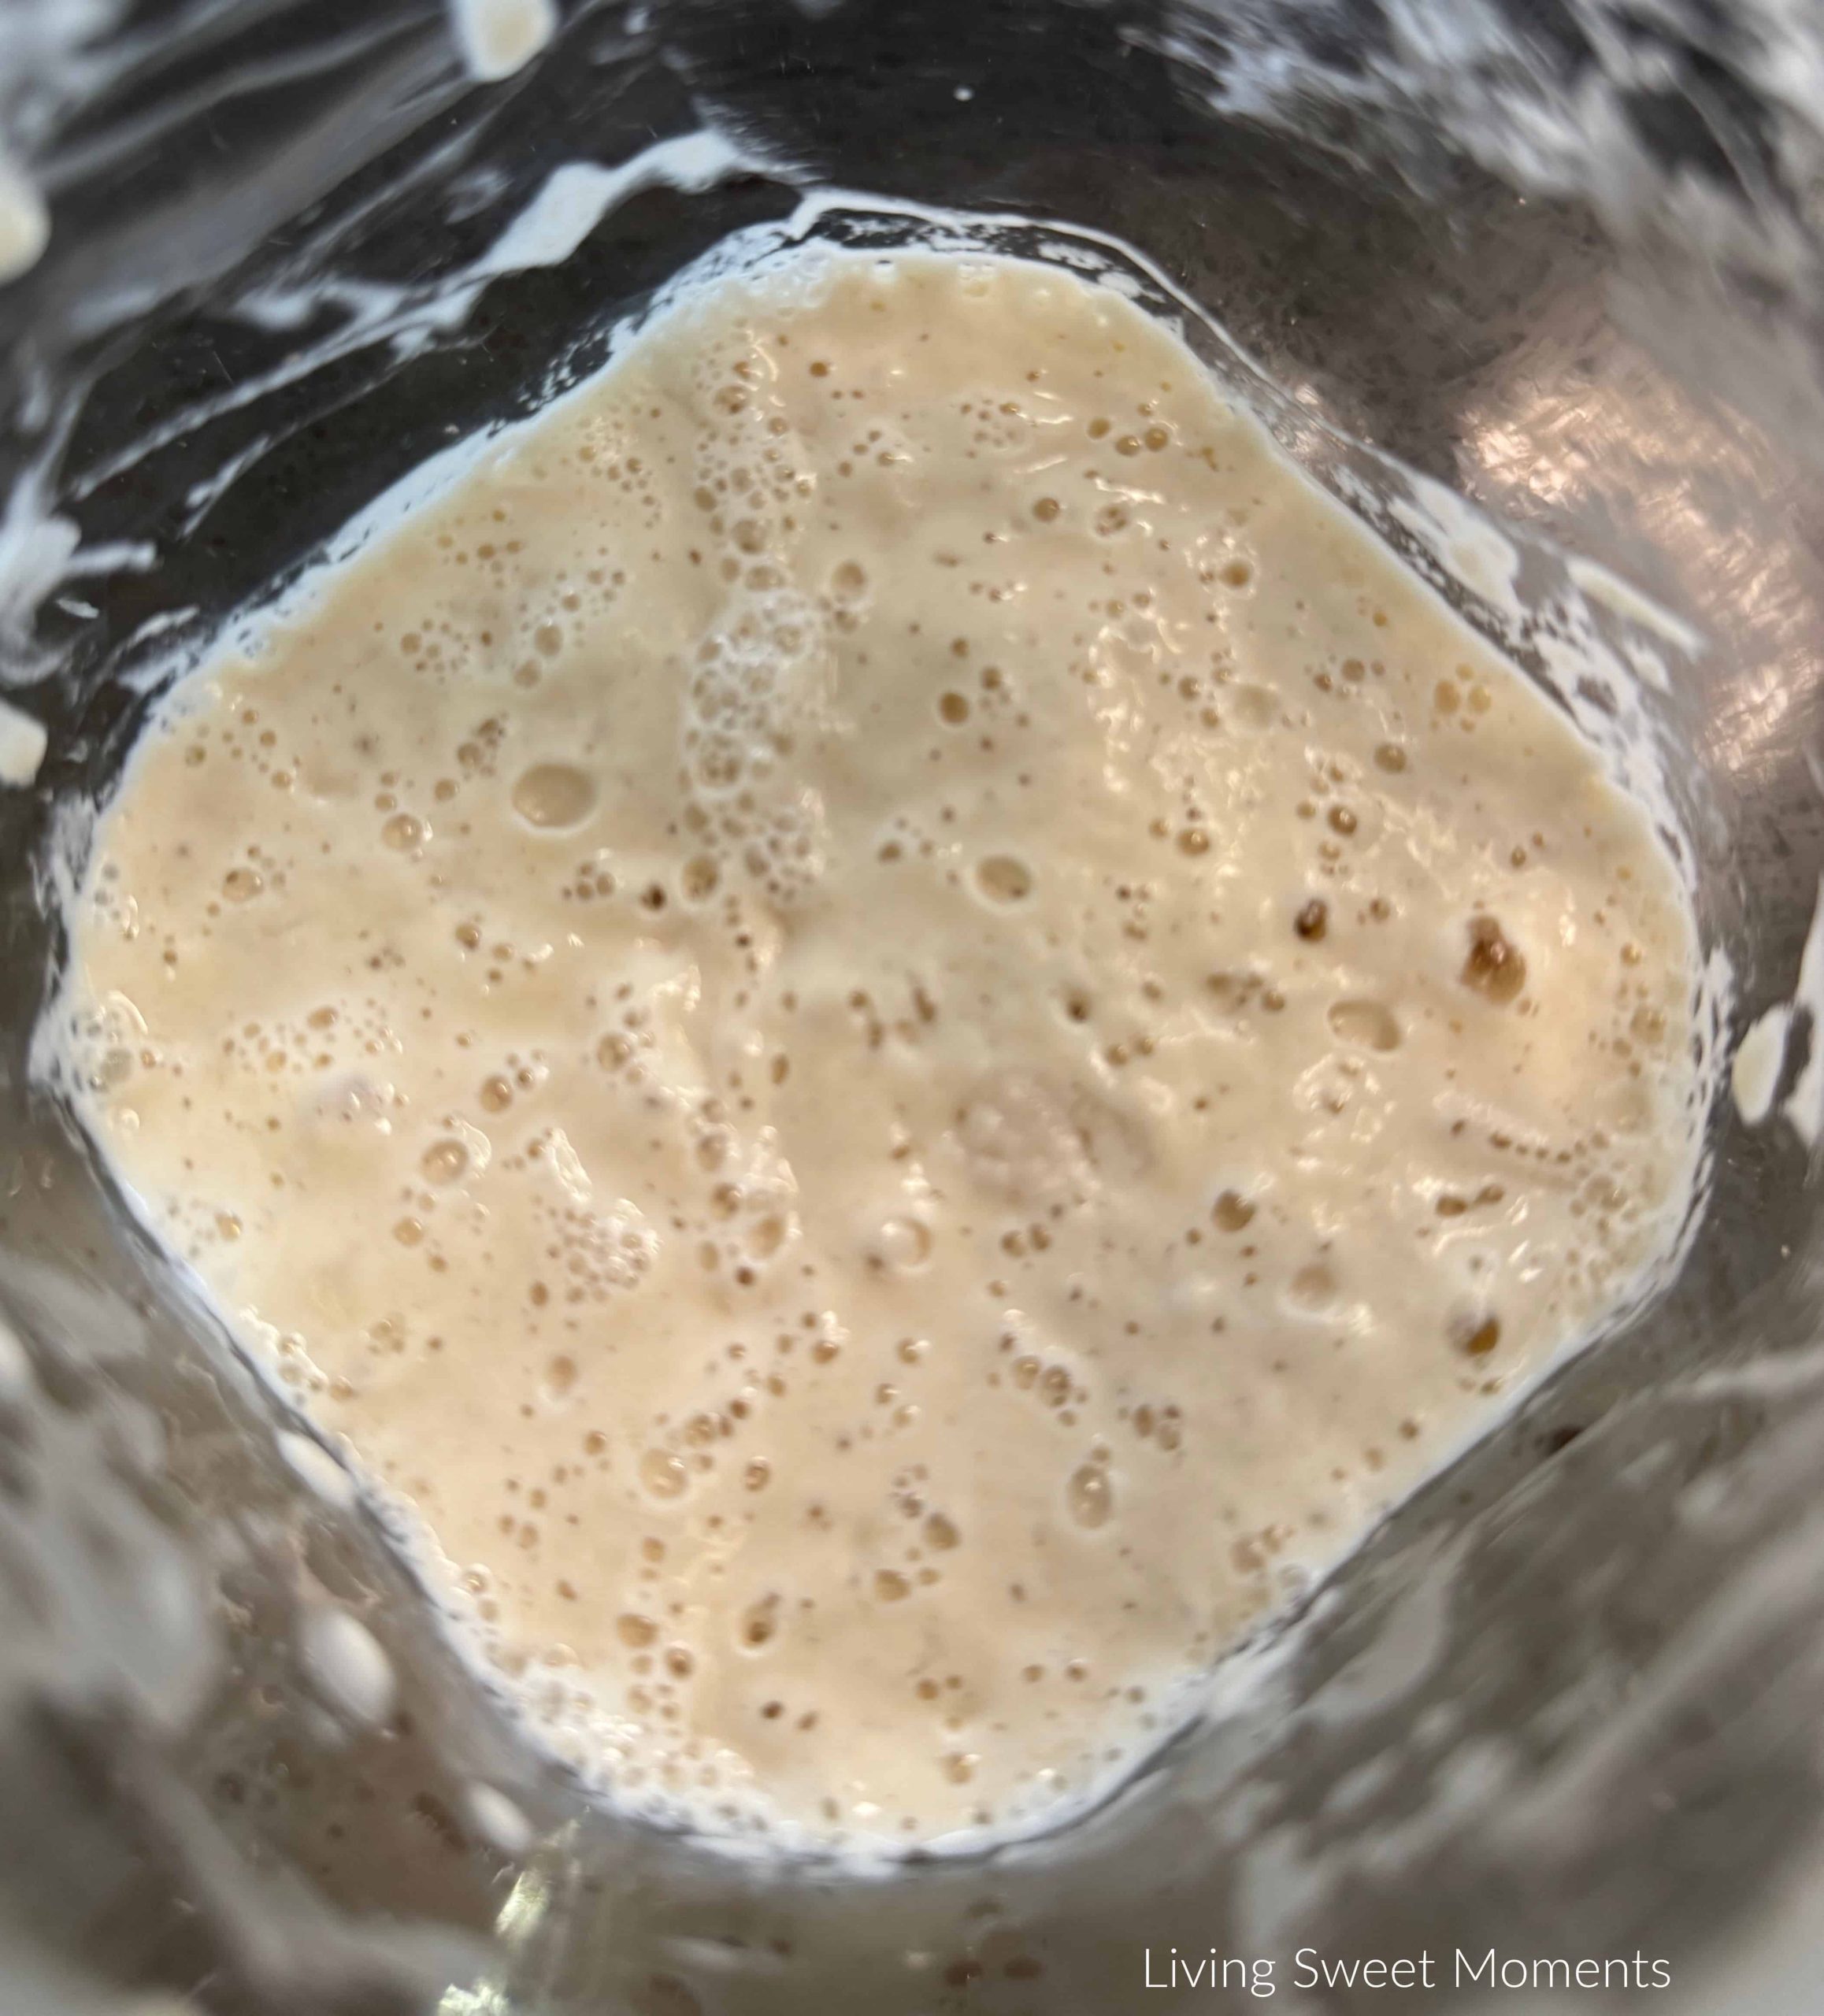
Day 7 and Beyond — Ready to Bake
- Feed once more. When it doubles in 4–6 hours and is very bubbly, it’s ready.
- (Optional) Float test: a small spoonful should float in water (helpful but not definitive).
- Move to maintenance: store in the fridge and feed weekly, or keep at room temp and feed daily. If refrigerated, still do a weekly feed/discard.
How to Know When Your Starter is Ready
- Rises predictably and doubles within 4–6 hours after feeding
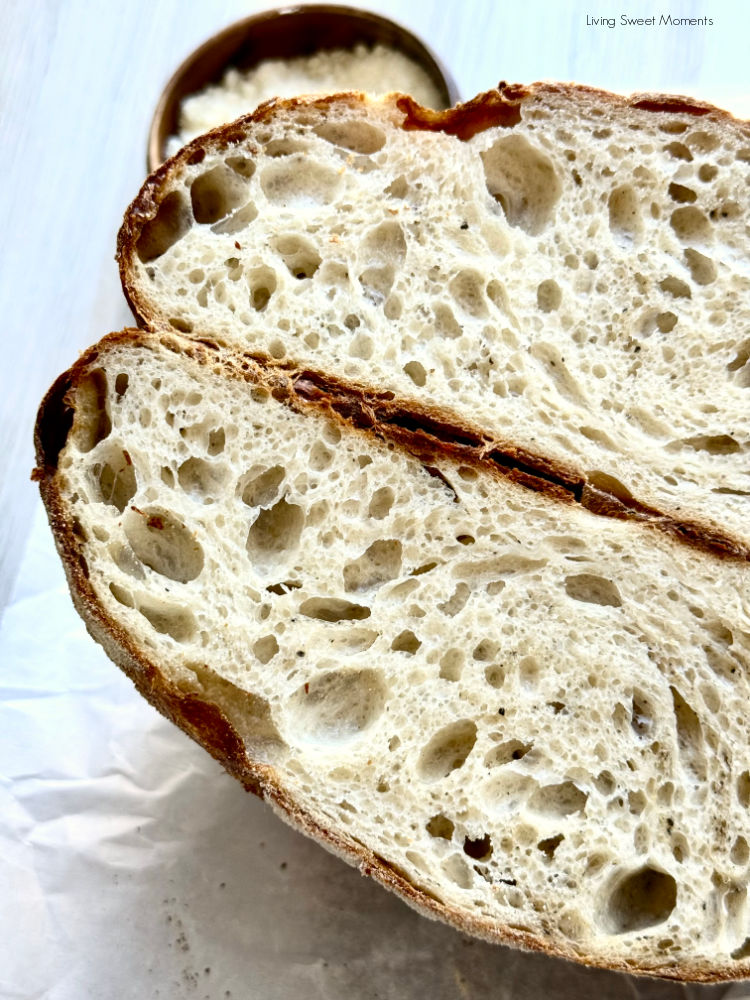
- Looks airy and webby with lots of bubbles
- Smells pleasantly tangy/yeasty (not harsh or rotten)
- Holds shape briefly when spooned (not watery/runny)
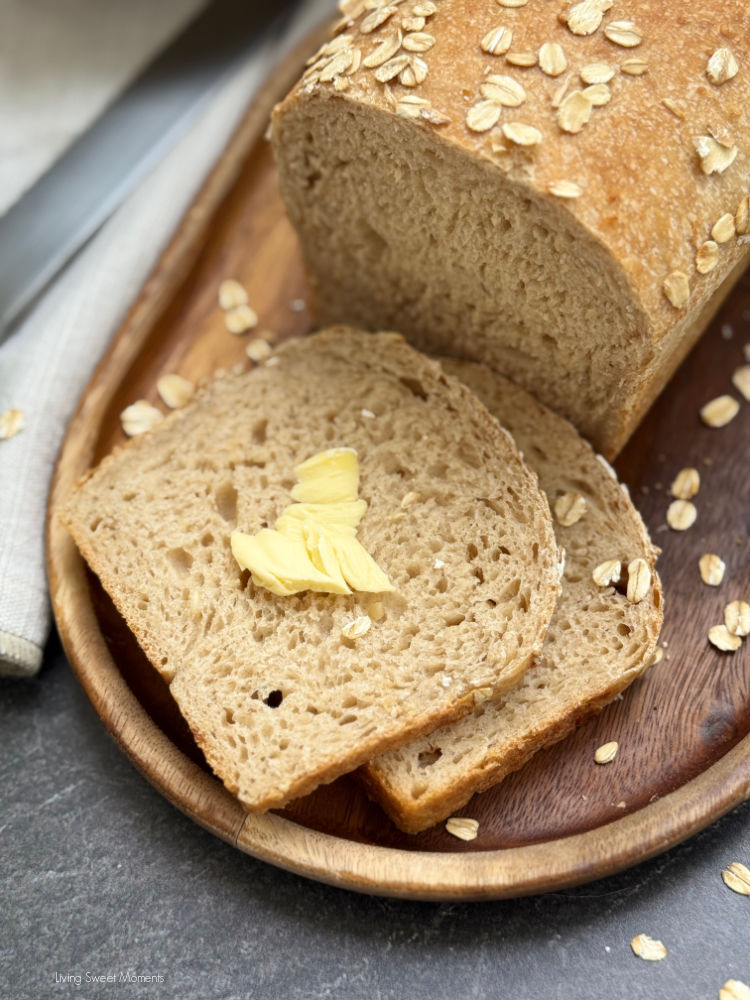
Next step: Try your first loaf with my Beginner Sourdough Bread and this focaccia recipe.
Scaling Your Starter for Baking
Now that your starter is strong, choose how much to keep and feed depending on how often you bake. For once-a-week baking, keep a small jar with 50–100 g starter and feed just enough for your bake. If you bake frequently, you may prefer a larger “baker’s jar” like my long-time starter, Betty.
The “Betty Method” (Frequent Baking)
- Keep 4 oz (113 g) starter in the jar.
- Feed with 4 oz (113 g) water + 4 oz (113 g) flour.
- Produces ~220 g discard per feed and leaves plenty of active starter for multiple loaves or discard recipes.
| Loaves | Discard Amount | Starter to Keep | Water to Add | Flour to Add | Starter Produced |
|---|---|---|---|---|---|
| 1 loaf | All but 50 g | 50 g | 50 g | 50 g | 150 g |
| 2 loaves | All but 100 g | 100 g | 100 g | 100 g | 300 g |
| 3 loaves | All but 150 g | 150 g | 150 g | 150 g | 450 g |
That yields the “Starter Produced” total for your bake.
Feeding & Maintenance
- At room temp: Feed every 12–24 hours.
- In the fridge: Feed, rest 1 hour at room temp, then refrigerate. Feed weekly.
- Keep 50–100 g starter; feed with equal weights of flour and water.
- To refresh for baking after refrigeration: do 1–2 room-temp feedings until it doubles in 4–6 hours.
What to Do with Sourdough Discard

Don’t toss it!
- Crispy Discard Crackers
- Oven Baked Flatbreads
- Sourdough Discard Brownies
- Sourdough Discard Empanadas
- Sourdough Discard Brownies
- Sourdough Discard Naan
Troubleshooting
- No bubbles after a few days? Keep going; switch to a warmer spot; try a portion with 20–50% whole wheat/rye.
- Gray liquid (“hooch”)? It’s hungry. Stir it in or pour off and feed.
- Smells harsh/solventy? Give it a couple of timely feedings; keep at moderate temps. When I first started Betty, one day it smelled like rotten cheese + feet—be patient, feed, and it goes away.
- Mold or pink/orange streaks? Discard and start over.
If you made this starter, tag me @livingsweetmoments so I can see your bubbly jars and meet their vintage names!
This post may contain affiliate links. If you purchase through these links, I may earn a small commission at no extra cost to you.


I am on day 4 of creating my starter. Her name is “Rose” I am seeing a lot of progress! Day 3 had a foul odor but today I see the bubbles and a pleasant smell. Can’t wait to start using Rose in my bakes! Thank you for this tutorial
Hi Ann Marie! thanks for stopping by. Yes, the first few days the starter can become kind of stinky, but in no time Rose will produce the most delicious tangy breads!
Hi! question, what temperature does the water have to be before adding to the flour?
Water should be room temperature. Cold water slows down fermentation
I am on day 7 and my starter is responding to feedings. Today I will attempt to create my first bread. Wish me luck! thank you for the post
Hi Melissa! that’s great! good luck creating your loaf – if you have any questions please let me know.
How do I know my starter is ready to start baking bread?
Hi Heather. Your starter is ready to be used when it rises and doubles within 4–6 hours after feeding. You can use an elastic band on the outside of your jar when you feed so you can see how much it rises. Happy Baking!
HELP! Day 4 and mine smells like vomit. 🤢
Did I do something wrong?
lol Claire! it’s completely normal, as long as the color is not moldy you’re fine. Just discard and feed.
Good luck!
My starter is finally ready to start baking. Thank you for the post Her name is Edna by the way.
I love the idea for using vintage names for them
Your welcome Kimberly! Enjoy baking with Edna (love the name by the way 🙂 )
My starter sourpuss is on day 2, I saw some bubbles like yours and I can’t wait to get started baking. Meanwhille I will make some crackers with the discarded part
Thank you
I love that name Denise!! good luck ! Happy Baking! Any questions please let me know
Wow mine woke up super smelly – my whole kitchen smelled bad! Did the throw away, feed , water and now it smells better. Is that ok?
It is Jill! unfortunately the smelly phase if just part of the process. But don’t worry it doesn’t last long.
I am on day 5 and doughrita is doing great! Can’t wait to start baking!
That’s great Laura! please keep me posted when you bake your first loaf! (by the way love the name 🙂 ) Use this recipe for your first loaf: https://livingsweetmoments.com/starter-sourdough-bread-recipe-beginner-friendly/ it has a video tutorial as well
I started with 1:1 whole wheat flour and water day one. Should I switch to all purpose or bread flour for feedings? Or alternate? I have a feeling the answer is “do whatever,” but as a beginner, I feel so lost!
Hi Emily, you can keep feeding with whole wheat, switch to all-purpose, or alternate, all will work. What matters is that you feed consistently and maintain the same ratio (for example, 1:1:1 by weight).