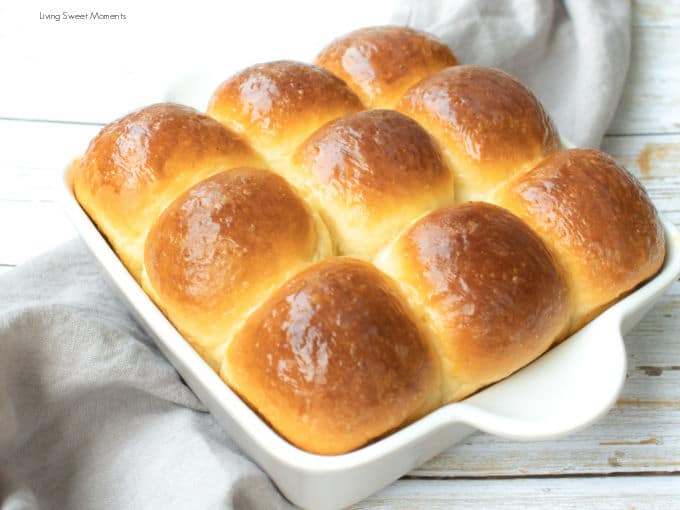
These Teddy Bear Sandwich Buns are soft, fluffy, and absolutely adorable. A fun and creative lunchbox idea your kids will love!

Updated May 2026: This post has been refreshed with better tips, structure, and ideas for creating the cutest sandwich buns at home.
If you want to make lunchtime fun again, these buns are the answer.
These teddy bear sandwich buns are soft homemade bread rolls shaped into cute little bears. Perfect for kids’ lunchboxes, playdates, or just a fun baking project.
Why You’ll Love These Teddy Bear Sandwich Buns
- Super cute and kid-approved
- Perfect for school lunchboxes
- Fun baking activity for kids
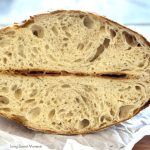
- Soft, fluffy homemade bread
- Customizable with your favorite fillings

How to Decorate Teddy Bear Sandwich Buns
One of the best parts of this recipe is decorating the faces. You can get creative depending on what you have at home.
- Eyes: black olives, sesame seeds, or edible markers
- Nose: small pieces of cheese
- Details: food coloring gels or markers
Kids LOVE helping with this step!

Filling Ideas for Sandwich Buns
These buns are super versatile. Fill them with your kids’ favorites:
- Turkey and cheese
- Ham and mayo
- Peanut butter and jelly
- Chicken salad
- Egg salad

Make-Ahead and Freezing Tips
- Make a big batch and freeze for later
- Store in airtight bags
- Defrost overnight or warm slightly before serving

FAQ
Can I make these ahead of time?
Yes, these buns freeze very well and can be made in advance.
What can I use for the face details?
You can use olives, cheese, seeds, or edible markers.
Are these good for school lunches?
Absolutely! They are perfect for adding fun to lunchboxes.
If you try this recipe, tag @LivingSweetMoments — I love seeing your creations!

Teddy Bear Sandwich Buns
Ingredients
For Buns
- 4 1/2 cups Bread Flour
- 2 teaspoons Salt
- 1/4 cup Sugar
- 1 packet Instant Yeast
- 1 Egg lightly beaten
- 1/4 cup Butter room temperature
- 1 1/2 cup Milk room temperature
Egg Wash
- 1 Egg lightly beaten
For Decoration
- 2-3 slices White Cheese
- 1 tablespoon Mayo
- Black gel food coloring
Instructions
- In a mixer bowl, combine flour, yeast, salt, and sugar.
- Add egg and butter while mixing on medium-low speed.
- Slowly pour in the milk.
- Using a dough hook, mix for 5–6 minutes until the dough is soft and elastic.
- Transfer dough to a greased bowl, cover, and let rise in a warm place for 60 minutes.
- Divide dough into 10 equal portions (about 4 oz each). Use remaining dough to form small balls for the ears.
- Shape each portion into a ball and place on a lined baking sheet.
- Attach the ears using a little water to seal.
- Cover and let rest for 30 minutes.
- Preheat oven to 400°F.
- Brush with egg wash.
- Bake for 13–15 minutes, or until golden brown.
- Cool on a wire rack.
Decoration
- Cut small circles of cheese for the face.
- Mix mayonnaise with food coloring and pipe facial features.
- Slice buns and fill with your favorite sandwich ingredients.
Notes
- Dough should be soft but not sticky; add a little flour if needed.
- Make sure ears are well attached, or they may separate during baking.
- Do not overbake or buns will lose softness.
- Buns can be frozen for up to 3 months.
- Thaw at room temperature or warm slightly before serving.
Nutrition
You May Also Like
Easy Slow Cooker Dinner Rolls

Condensed Milk Bread Rolls


Cutest meal ever! I used to do cute things for my boys too, but nos as cute as these Teddy bears!
OMG! These are really the cutest. How fun to eat!
They look so yummy, but overall they are totally adorable!
Oh my gosh!! These are so cute. My kids will love these
Thank you Dora!